|
|
|
Outlook Express 4 or Above
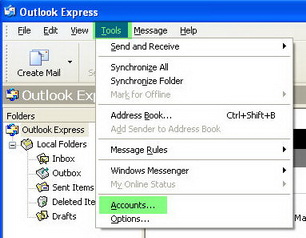
1. Open Outlook Express, select Tools > Account
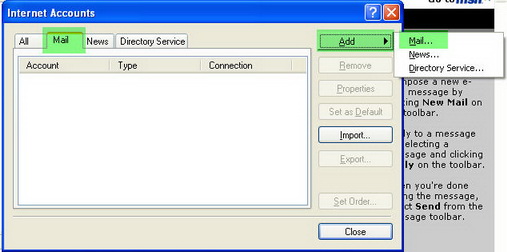
2. Select the Mail tab and click Add > Mail
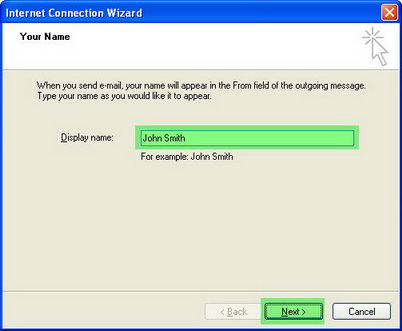
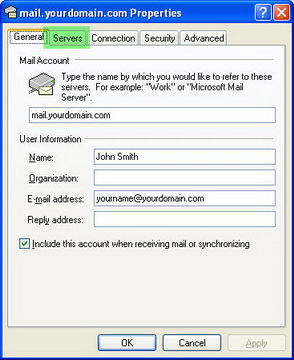
3. Enter a display name in the Display Name: field (eg: John Smith) and click Next.
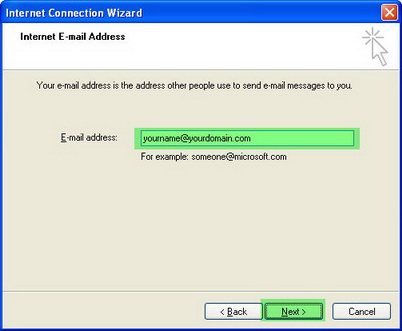
4. Enter your email address in the E-mail address: field (eg: yourname@yourdomain.com), and click Next.
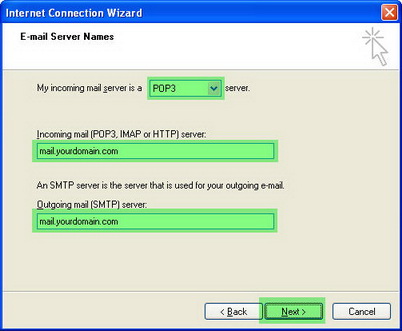
5. Choose POP3 server for My incoming mail server and in the Incoming mail (Pop3, IMAP or HTTP) server and the Outgoing mail (SMTP) server fields, enter your domain name with a "mail." prefix. (eg. mail.yourdomain.com), and click Next.
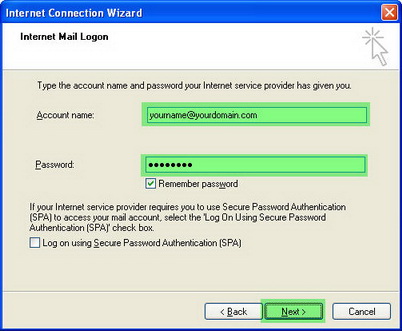
6. Enter your email address in the Account name: field (e.g: yourname@yourdomain.com) and your password in the Password: field, and click Next.
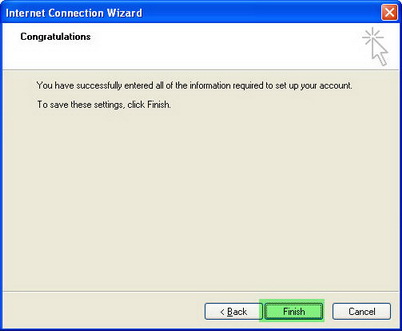
7. Click Finish.
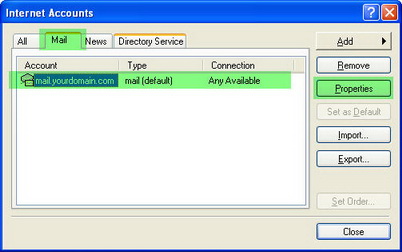
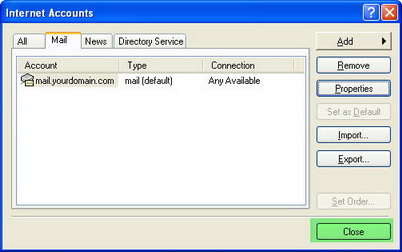
8. In the Mail tab within the Internet Accounts window, highlight the account you've just added (e.g. mail.yourdomain.com), then click Properties.
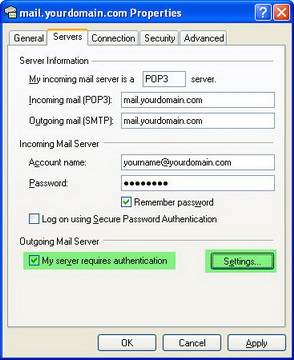
9. Select the Servers tab.
10. Enable the My server requires authentication in the section of Outgoing Mail Server, then click Settings...
11. Enable Log on using and enter your email address (e.g. yourname@yourdomain.com), then enter your Password and click OK.
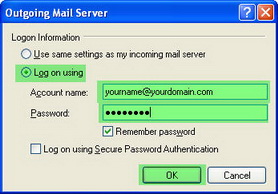
12. Click OK
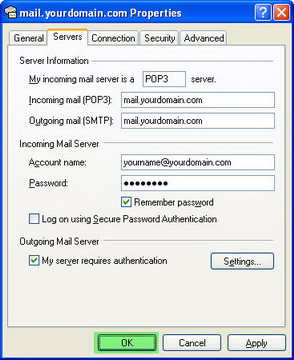
13. Click Close to complete the settings.
For further help, you can e-mail our Support Desk
Click here to obtain a PDF version of this documentation.
|
|
|
|
|
|
|
|
|